
UPLOAD VIA GLOBUS
Overview
This article outlines how to upload experimental data to your DECTRIS CLOUD workspace using the Globus file transfer service. This method ensures secure and efficient movement of large datasets from your local or institutional storage to a designated Project or Lab Experiment in DECTRIS CLOUD.
Prerequisites
You must have access to a Project or Lab Experiment in DECTRIS CLOUD where the data will be stored.
Globus must be accessible from your machine or institutional endpoint.
Step-by-Step Guide
1. Prepare Your Destination in DECTRIS CLOUD
- Navigate to
analysis→Create sessionin the DECTRIS CLOUD interface. - Choose Globus Data Transfer as the Environment
- Choose the target Project or Lab Experiment as the mount point for your session.
- Launch the session.
2. Access Your Session
Once the session is active, click the Reconnect button to open a remote terminal or desktop interface to your DECTRIS CLOUD session.
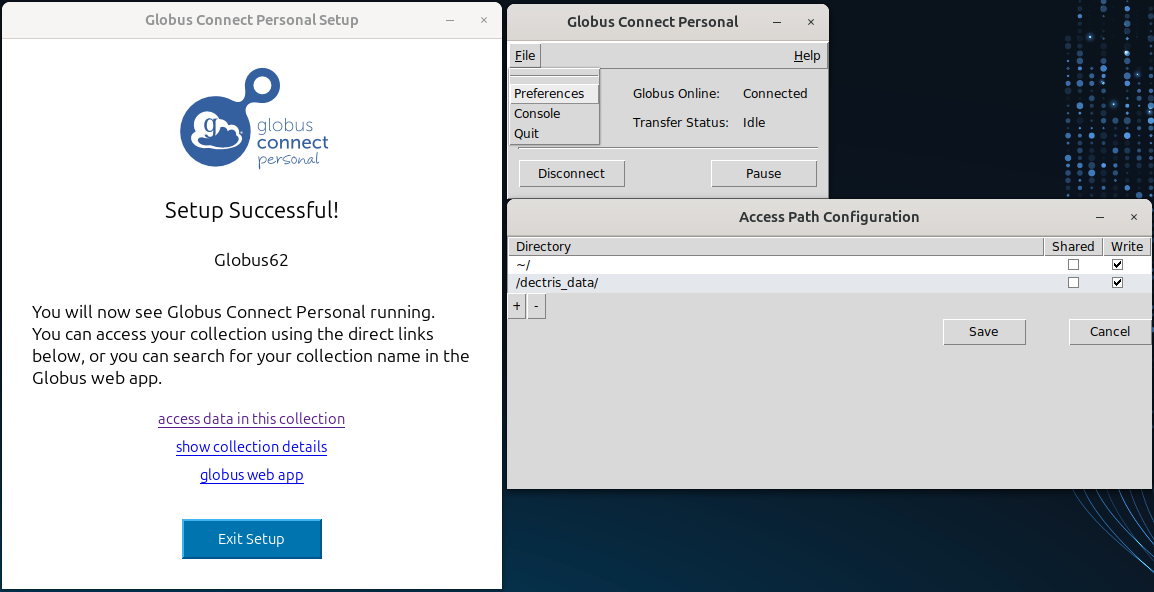
3. Globus Connect Personal
- The Globus Connect Personal client should open automatically when you start your session (If not, open a terminal and run
globusconnectpersonal) - Sign in and follow the instructions.
- After the setup, go to
File→Preferencesand add/dectris_data/to the list of paths.
4. Open the Globus Portal
- In your session interface, open a web browser.
- Go to the Globus web portal.
- Log in with your institutional or Globus account credentials.
5. Select Source and Destination
In the Globus File Manager, select the folder containing the data you want to upload as the source endpoint.
As the destination endpoint, select the path in your DECTRIS CLOUD session:
/dectris_data/{CODE}/{YEAR}/{ID}/{FOLDER}Replace {CODE}, {YEAR}, {ID}, and {FOLDER} with the appropriate values for your project or experiment. You can navigate to the folder via the dectris_data shortcut on the Desktop in your session or from /dectris_data.
6. Initiate the Transfer
- Confirm both endpoints and paths.
- Click Start to begin the transfer.
- You can monitor progress and status within the Globus portal.
Notes
- Transfers will continue in the background, even if you close your tab.
- However, transfers WILL STOP if you stop your Session.