
Simple python example
Introduction
This template serves to exemplify how one can configure a job to run a python script and copy the output to the output directory. It has been built with the Python Basics Ubuntu environment.
Quick start
This job template requires no configuration of input parameters to run. You need only to select an experiment or project, which will determine where the generated files and output log will appear.
Optionally, you can configure the DC_EXAMPLE_VAR, which will simply print a message to the log file:
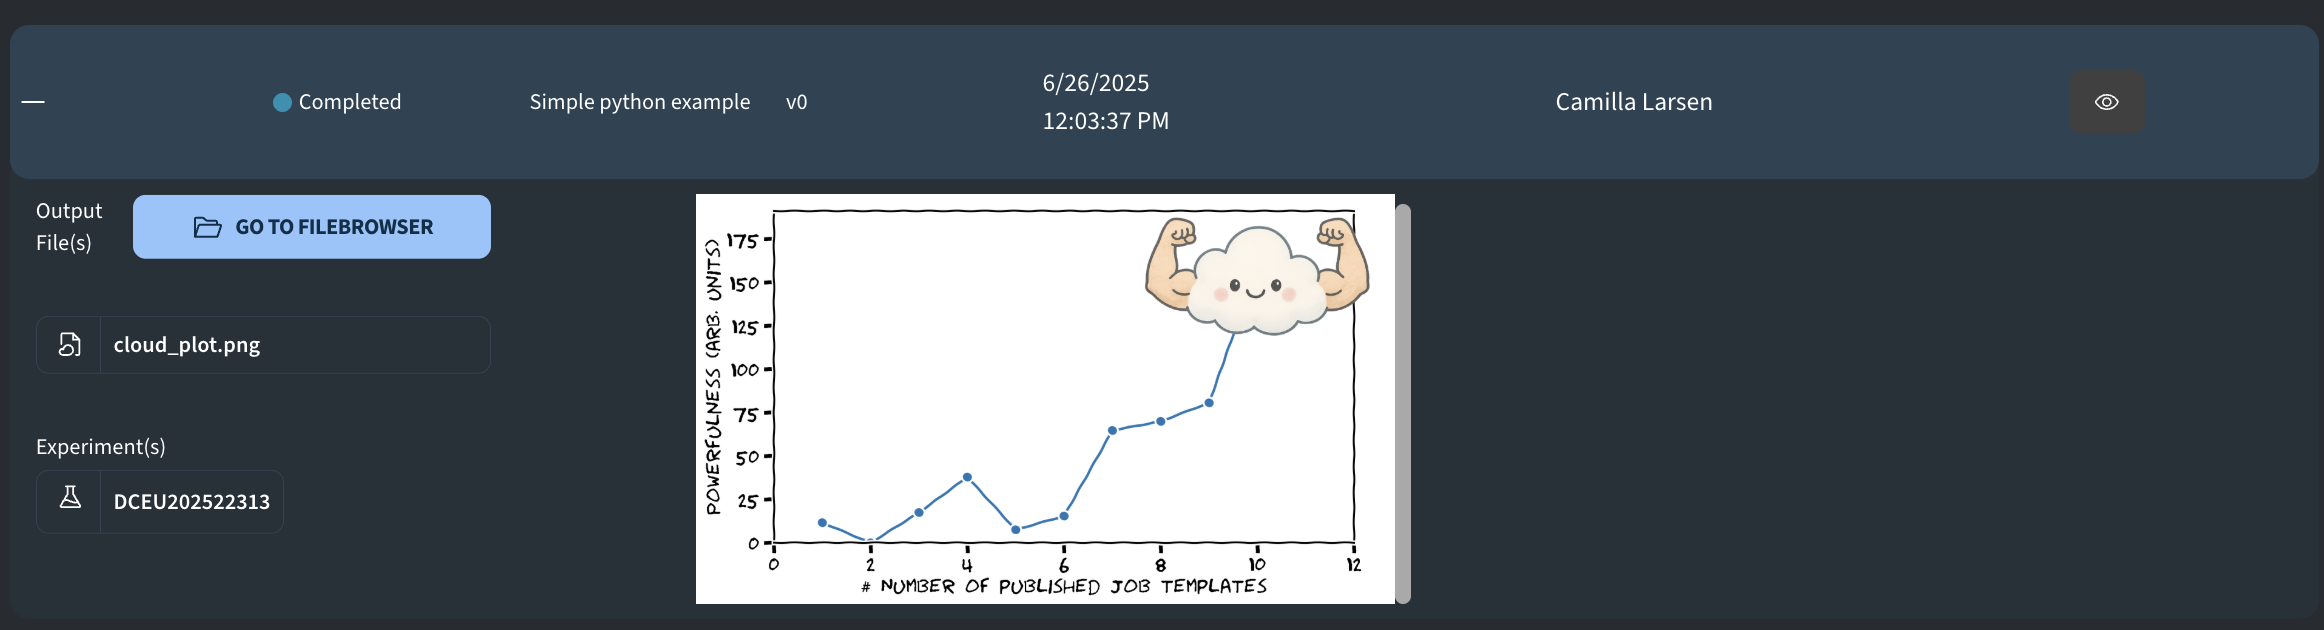
Output
If completed successfully, you should obtain the following output, containing a single png image:
Job template configuration
The bash script of the job template was configured as follows:
#!/bin/bash
set -euo pipefail

# Print key environment variables
echo "JOB_OUTPUT_DIR: $JOB_OUTPUT_DIR"
echo "JOB_WORK_DIR:   $JOB_WORK_DIR"
echo "JOB_TEMPLATE_DIR: $JOB_TEMPLATE_DIR"

# Show an input variable
echo "Input Variable DC_EXAMPLE_VAR: ${DC_EXAMPLE_VAR:-not defined}"

cp $JOB_TEMPLATE_DIR/power_cloud_nobg.png .
cp $JOB_TEMPLATE_DIR/silly_python_example.py .

# Generate the plot with the python script
conda run -n basics python3 silly_python_example.py power_cloud_nobg.png

# Copy to the output directory
cp cloud_plot.png $JOB_OUTPUT_DIR/

echo "Created plot and copied to output directory"
As is evident, it copies two uploaded support files from $JOB_TEMPLATE_DIR and then executes the uploaded python script by calling conda run with the basics conda environment of the Python Basics Ubuntu environment. After the python script has finished executing, the generated output file cloud_plot.py is copied to the $JOB_OUTPUT_DIR, making it visible in job output table.
For this example, the following python script below was used. It takes the path to an image file as an input argument, then generates some data and plots it.
silly_python_example.py:
import sys
import argparse
import numpy as np
import matplotlib.pyplot as plt
from matplotlib.offsetbox import OffsetImage, AnnotationBbox
import matplotlib.image as mpimg

# Get input
parser = argparse.ArgumentParser(
    description="Plot exponentially growing 'Powerfulness'")
parser.add_argument("cloud_path", type=str, help="Path to PNG cloud image")
args = parser.parse_args()

with plt.xkcd():
    plt.rcParams["font.family"] = ["Humor Sans"]
    plt.rcParams["font.size"] = 16

    # Generate data
    np.random.seed(42)
    x = np.arange(1, 11)
    y = np.exp(0.5 * x) + np.random.normal(scale=20, size=x.size)

    # Create plot
    fig, ax = plt.subplots(figsize=(8, 5))
    ax.plot(x, y, marker="o")
    ax.set_xlabel("# Number of published job templates")
    ax.set_ylabel("Powerfulness (arb. units)")

    # Add cloud image
    cloud_img = mpimg.imread(args.cloud_path)
    imagebox = OffsetImage(cloud_img, zoom=0.20, interpolation='hanning')
    ab = AnnotationBbox(imagebox, (x[-1], y[-1]), frameon=False)
    ax.add_artist(ab)

    ax.set_xlim(0, x[-1] + 2)
    ax.set_ylim(0, y.max() * 1.2)
    plt.tight_layout()

    # Save
    plt.savefig("cloud_plot.png", dpi=300, bbox_inches="tight")
Versions
- Version 0: Initial version created with version 0 of the Python Basics Ubuntu environment.