
Connect to your session using VScode tunnel
If you're used to working locally with Visual Studio Code, DECTRIS CLOUD Sessions let you seamlessly extend your workflows to the cloud—using the same familiar interface. Stay in your comfort zone while analyzing data in the cloud, leveraging the tools you know and trust. With DECTRIS CLOUD powering your coding, insights are now just one step closer.
Remote Tunnel to your DECTRIS CLOUD Session
Below is a step-by-step procedure that enables you to connect to an existing Session at DECTRIS CLOUD using the "tunnel" feature from VS code.
1. Create a session:
- Select the supporting environment (recommended : Ubuntu 22 Desktop).
- Choose the performance that suits your workflows.
- Select the experiments and projects related to your data analysis.
2. Download VScode:
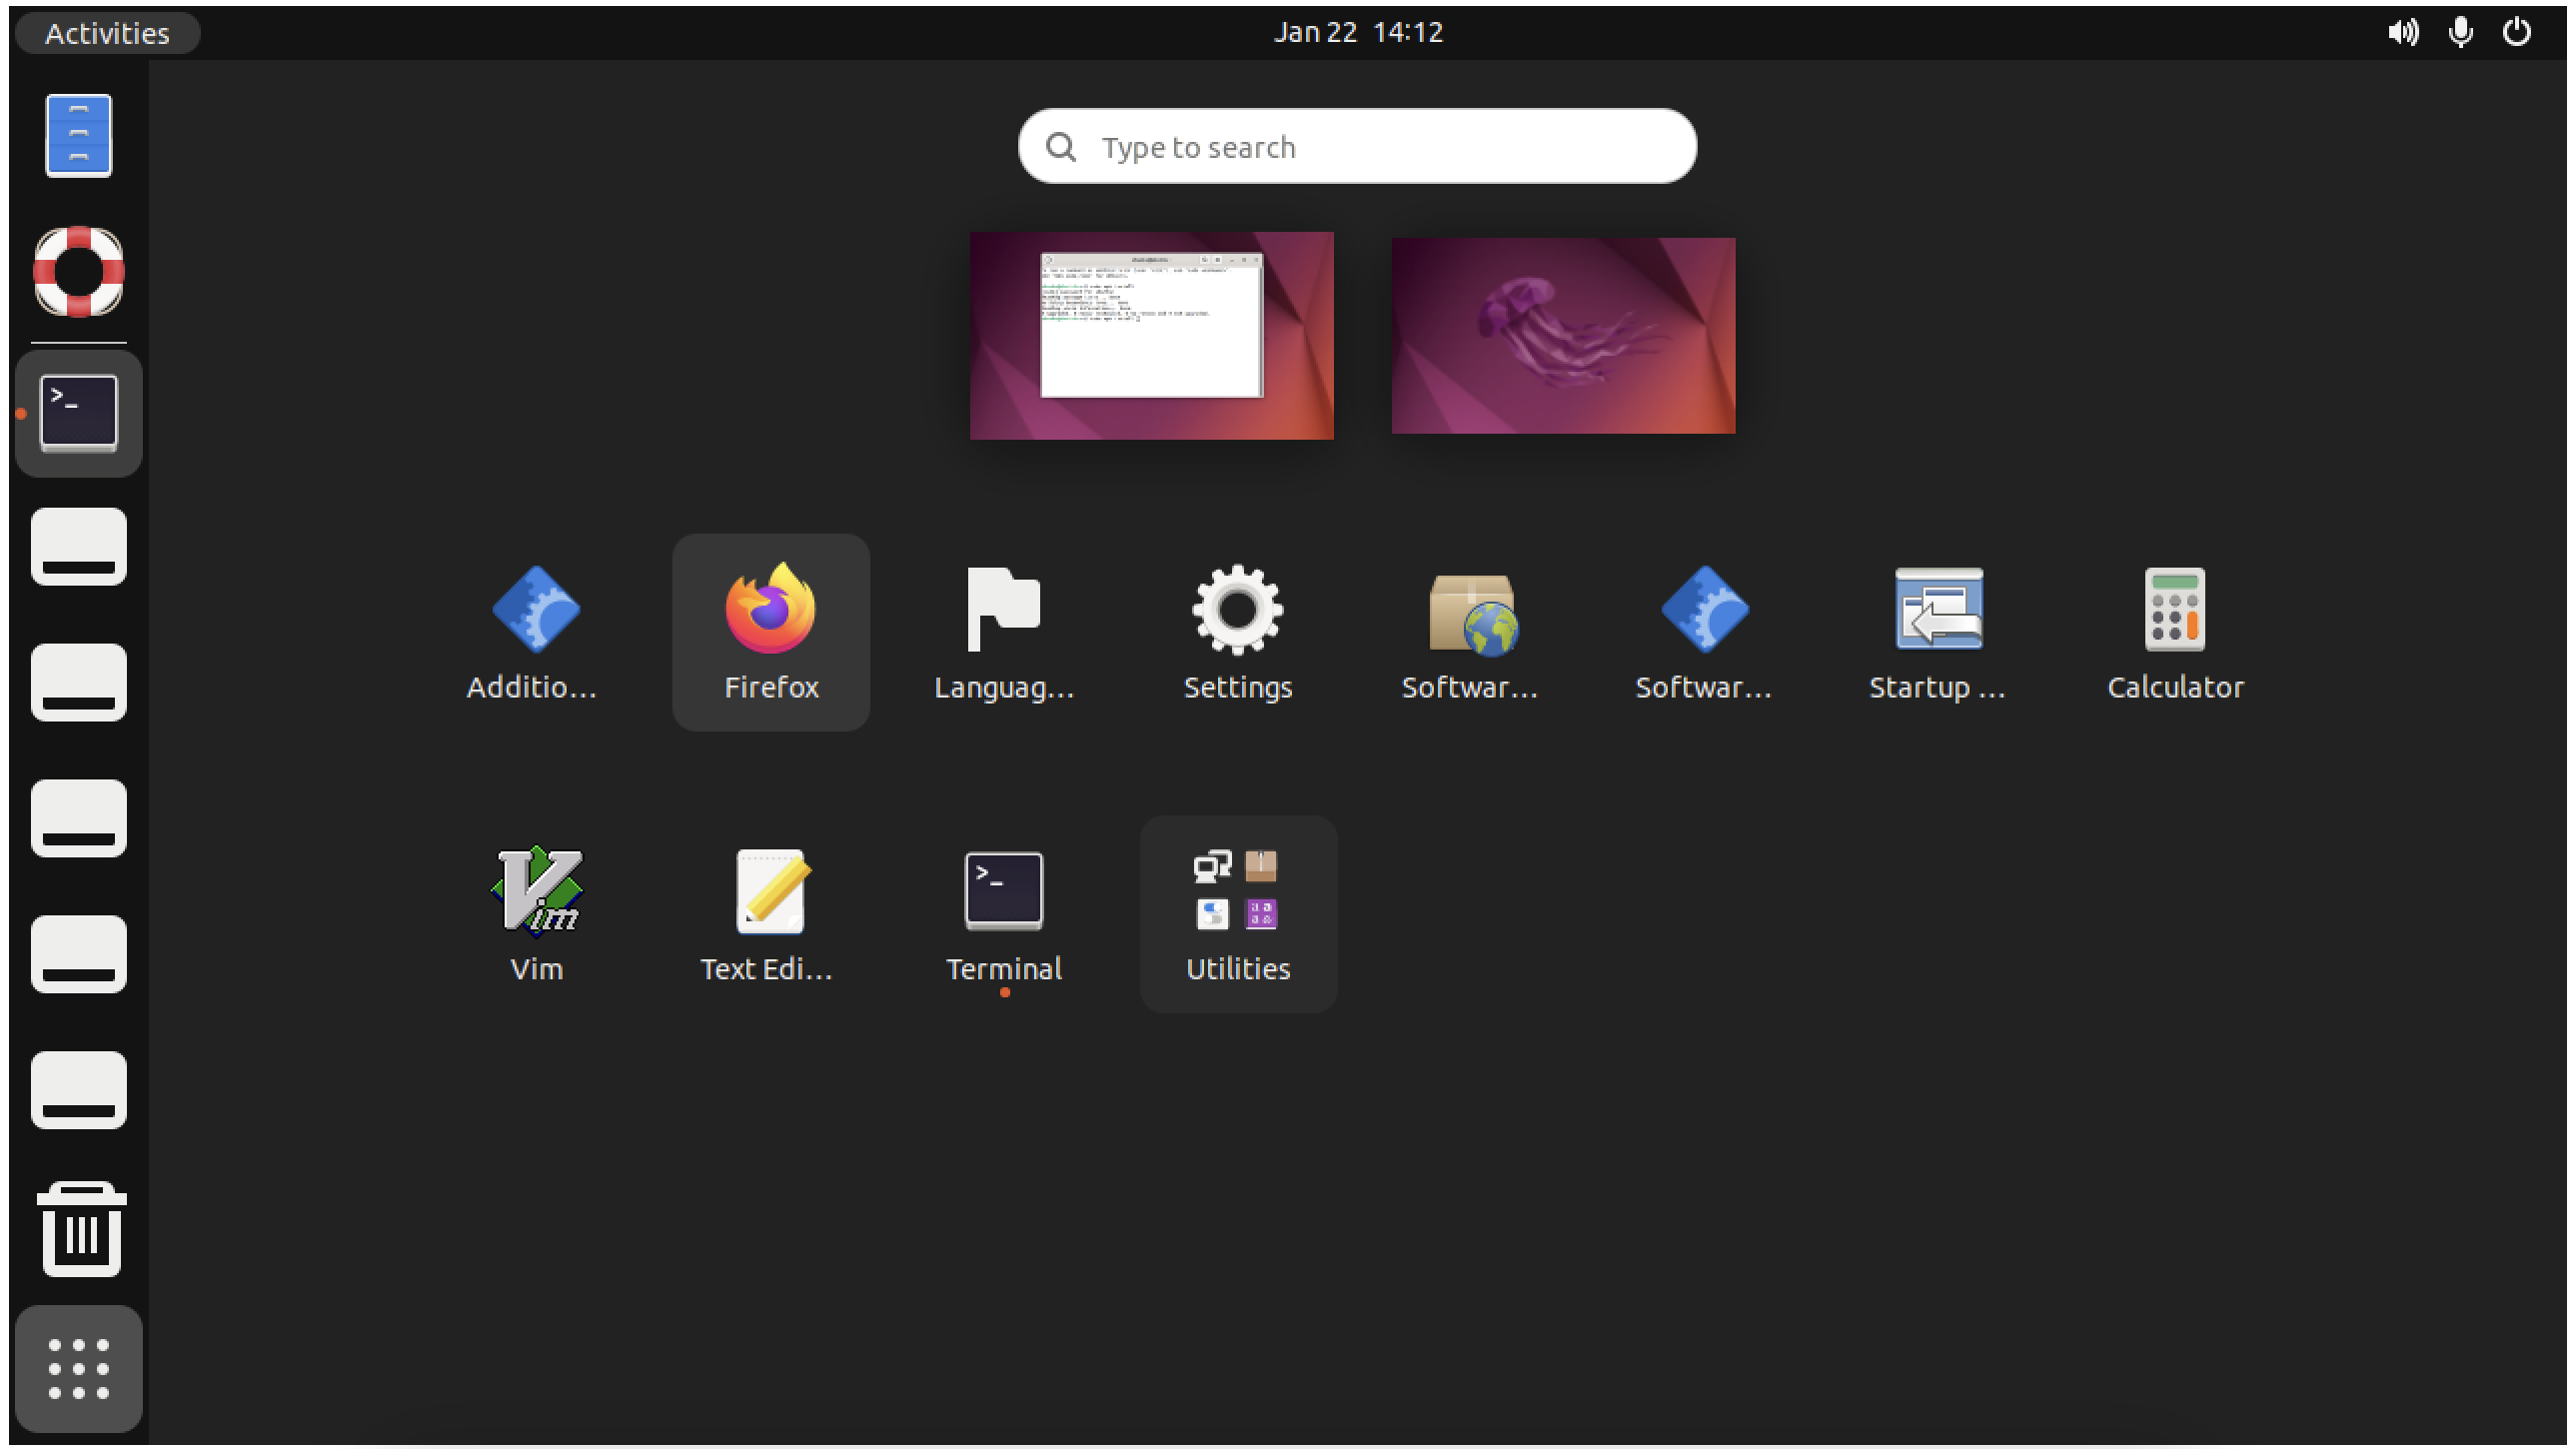
- Connect to your session.
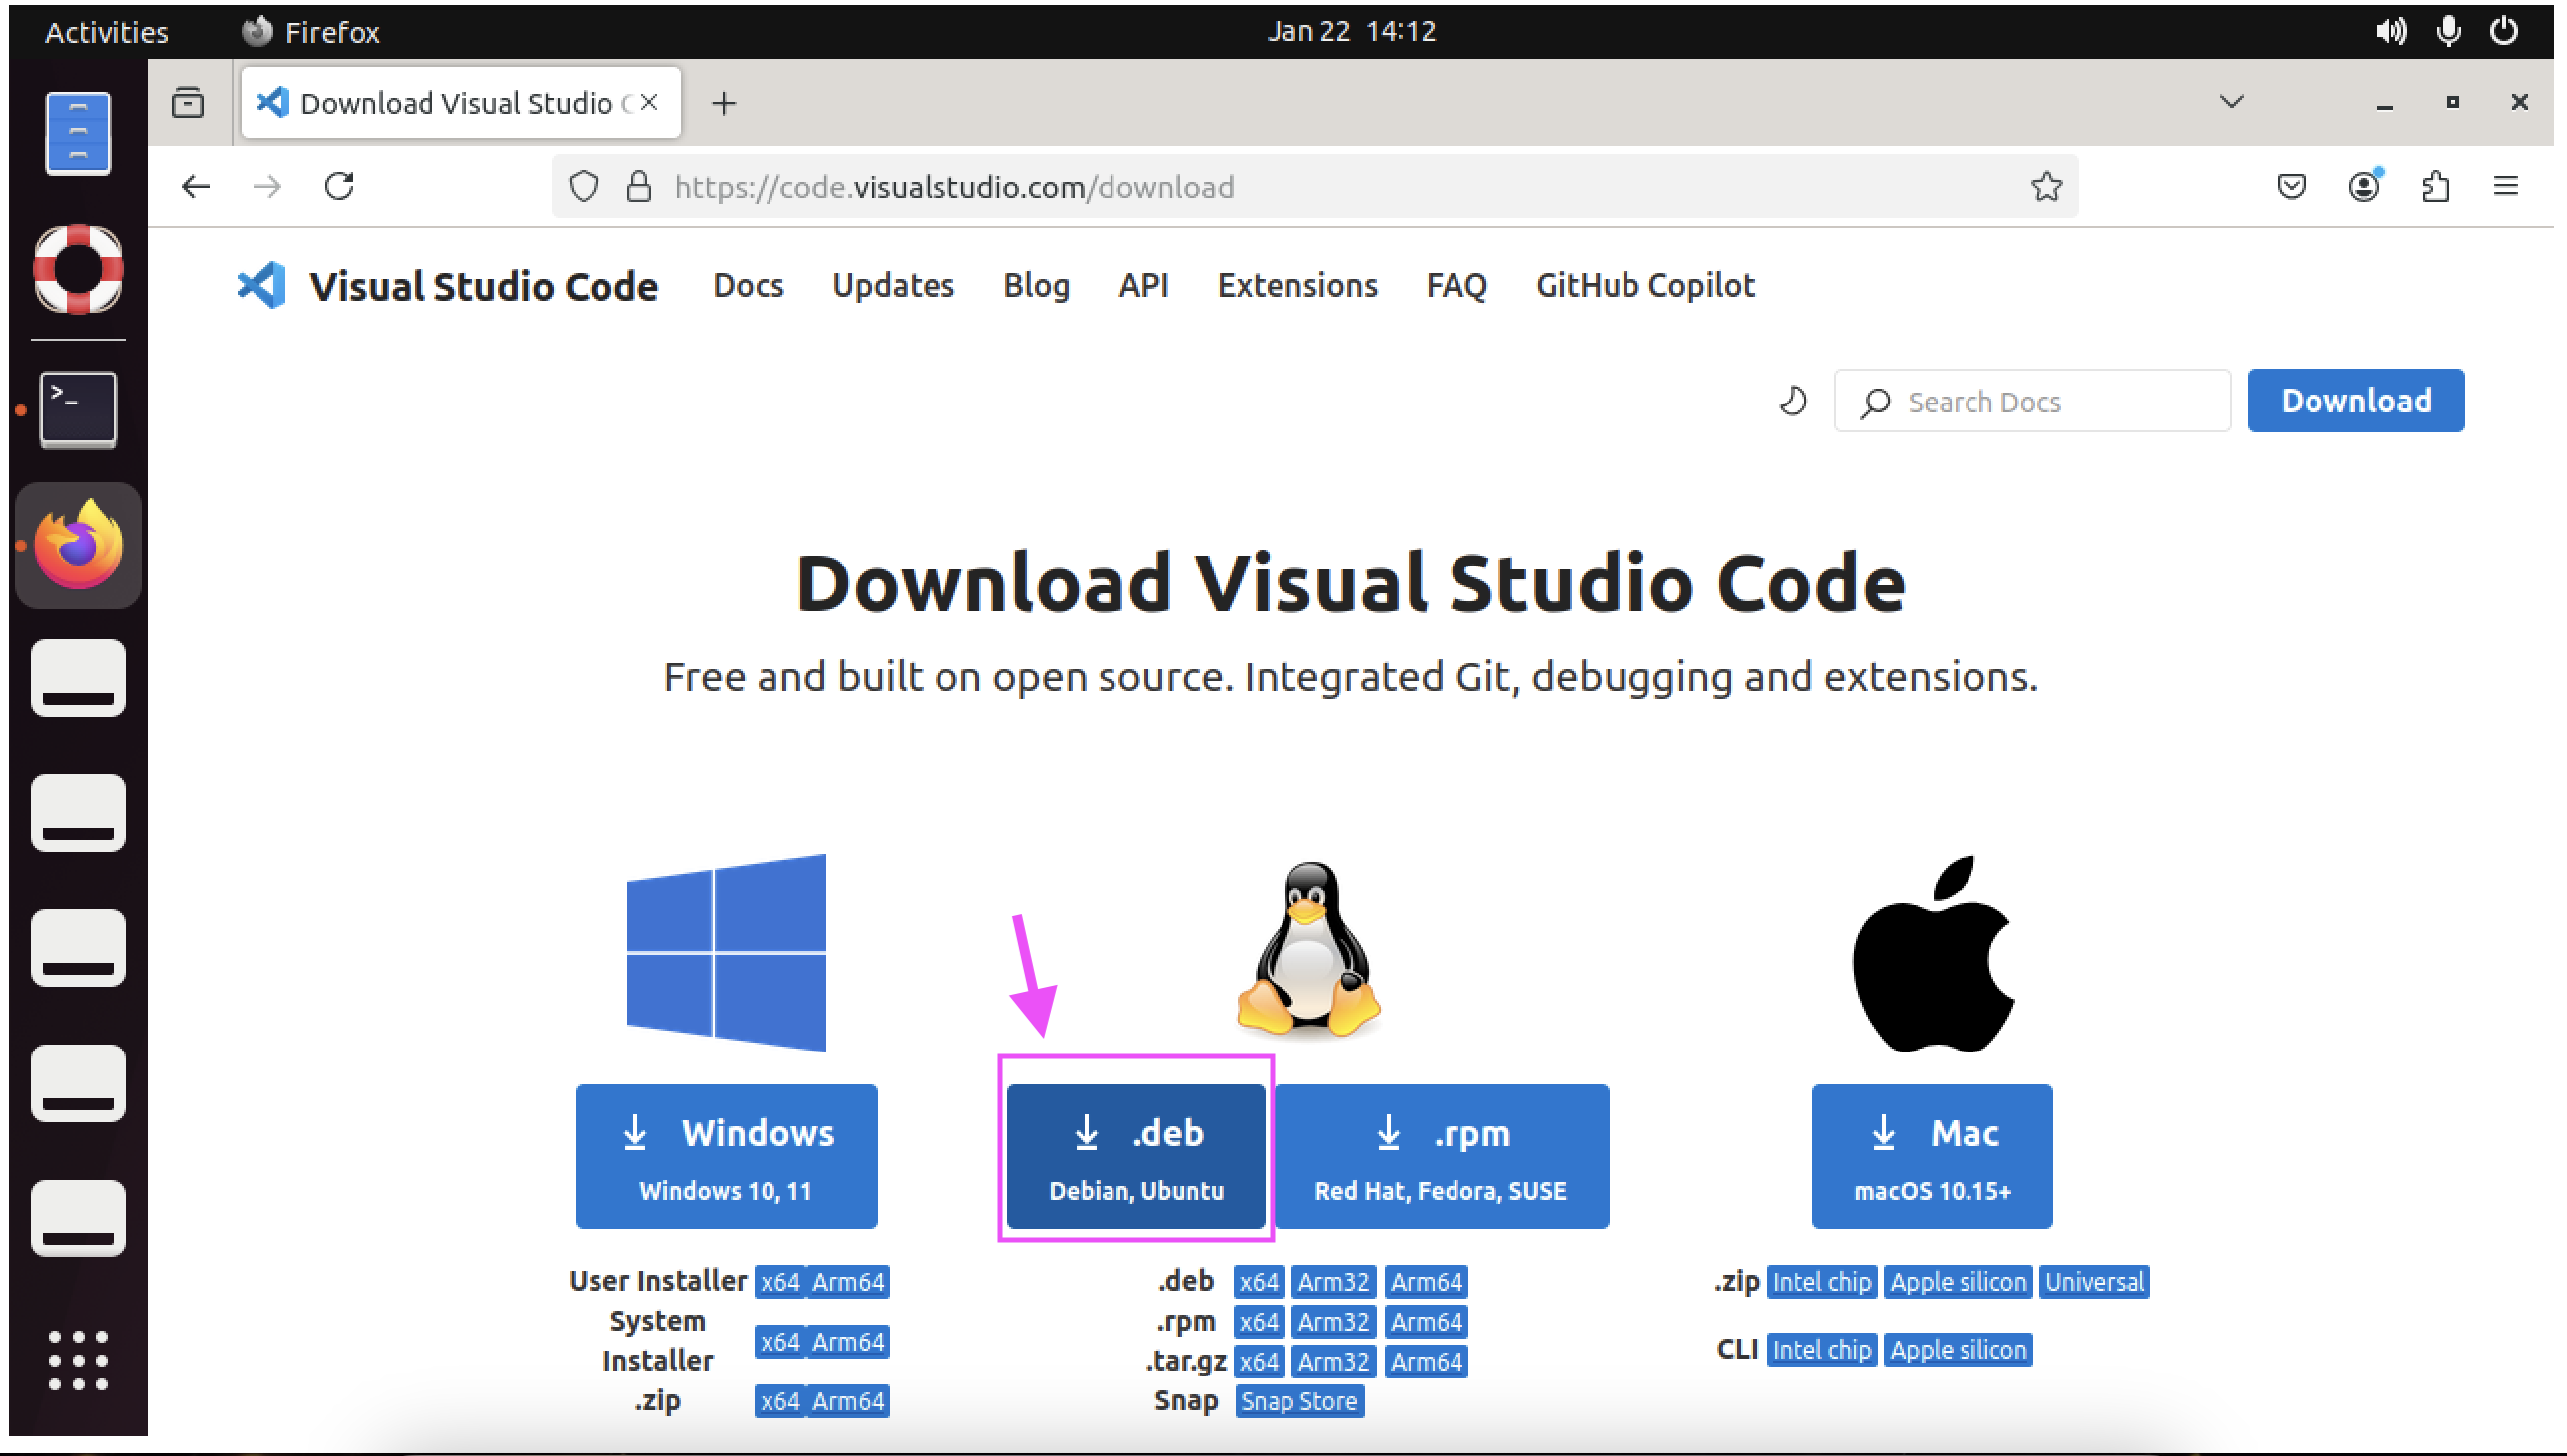
- Download Visual Studio code (select the .deb option for Ubuntu).
- Browser download: open Firefox, access https://code.visualstudio.com/download and choose the .deb option.
- Terminal download: Open a terminal and navigate to the destination folder for the installation package. Then enter:
- wget -O <filename>.deb "https://code.visualstudio.com/sha/download?build=stable&os=linux-deb-x64"
3. Installation VScode via command line:
- Open a Terminal window.
- Enter the prompt below adjusting the path and filename to the newly downloaded .deb file:
- sudo apt-get install -f
- sudo dpkg -i <path>/<filename>.deb
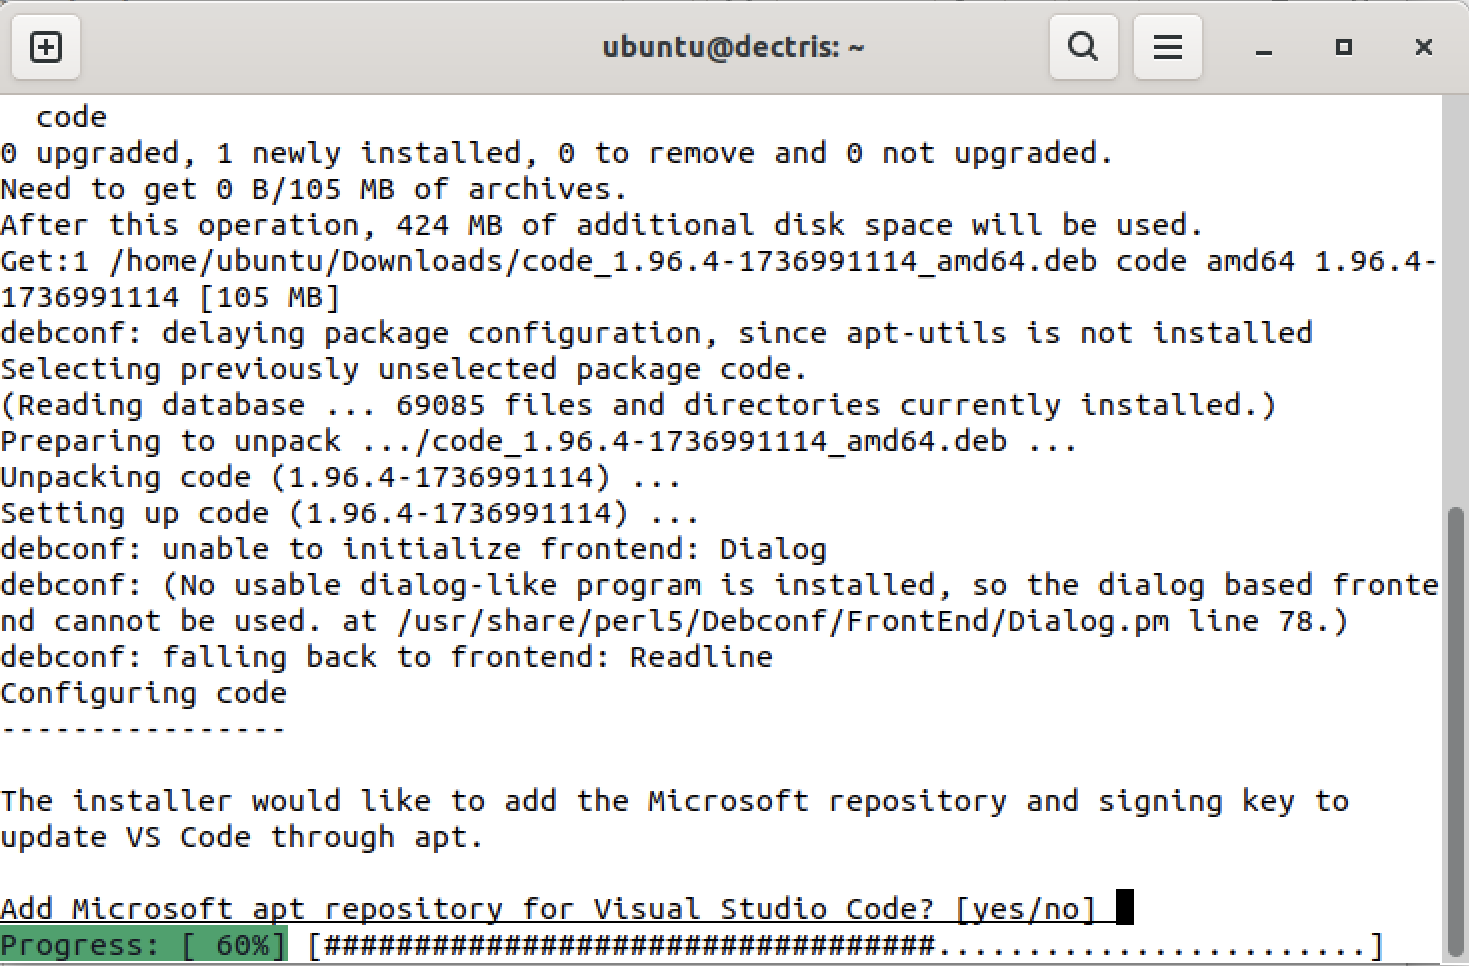
- The installation will start.
- Reply "no" when prompted:
- Add Microsoft apt repository for Visual Studio Code? [yes/no]
4. Setup Remonte Tunnel
Once the installation is finished, open VS code inside your DECTRIS CLOUD Session and setup a Remote Tunnel:
- In a terminal, enter: code

- Authenticate a tunnel connection using your GitHub or Microsoft account:
- Enter the command below in your terminal, replacing <provider> by microsoft or github
- code tunnel user login --provider <provider>
- Follow the instructions on the terminal to authenticate and authorize VScode.
- Enter the command below in your terminal, replacing <provider> by microsoft or github
- Once your device is authorized, access the VScode GUI to start a tunnel:
- Access VScode CLI using Control + Shift + P
- Type "tunnel"
- Select:
- Remote Tunnels: Turn on Remote Tunnel Access
- Turn on for this session


5. Access tunnel from your local computer
- Open VScode in your machine.
- Access VScode CLI using Control + Shift + P
- Type: "tunnel".
- Select: Remote Tunnels: Connect to tunnel.
- Select the same authentication method from step 4 (GitHub or Microsoft).
- Select the available dectriscloud tunnel connected to your authenticated account.

That's it! You can now work from your local VScode window, powered by a DECTRIS CLOUD Session!
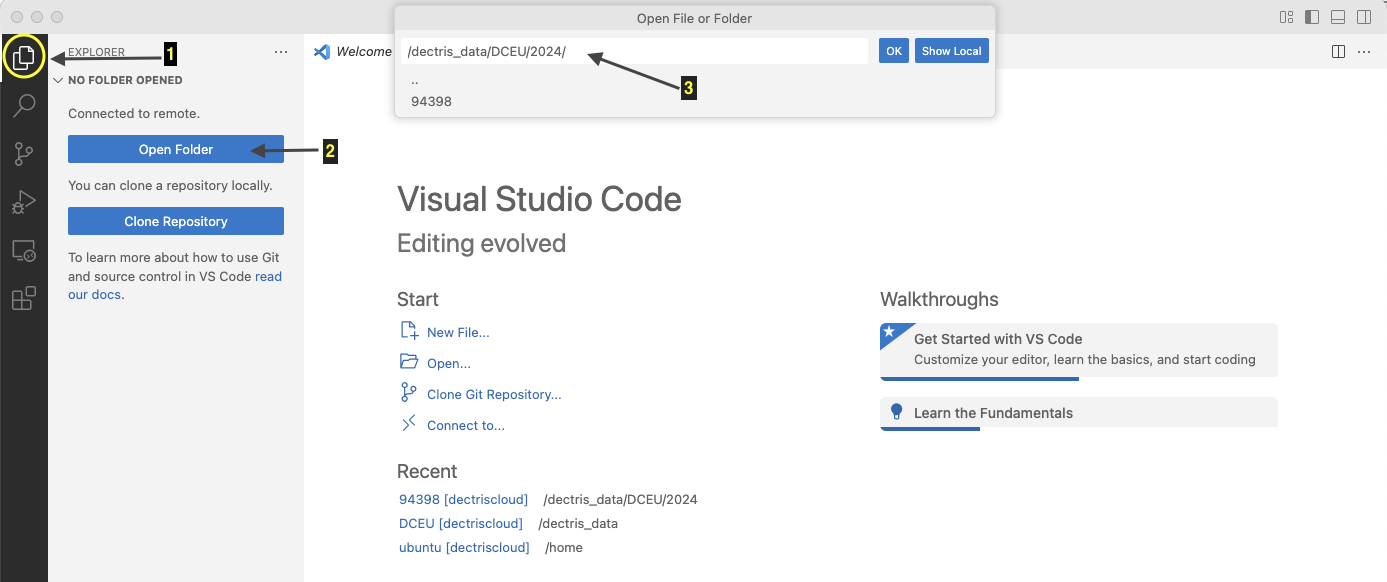
Find your files by accessing the "Explorer" on the side bar (on your local machine). Click "Open Folder" and navigate to your experiment work folder inside DECTRIS CLOUD. Easy, so you can focus on science!
Pro Tip:
Recurrent usage of tunnel to Session
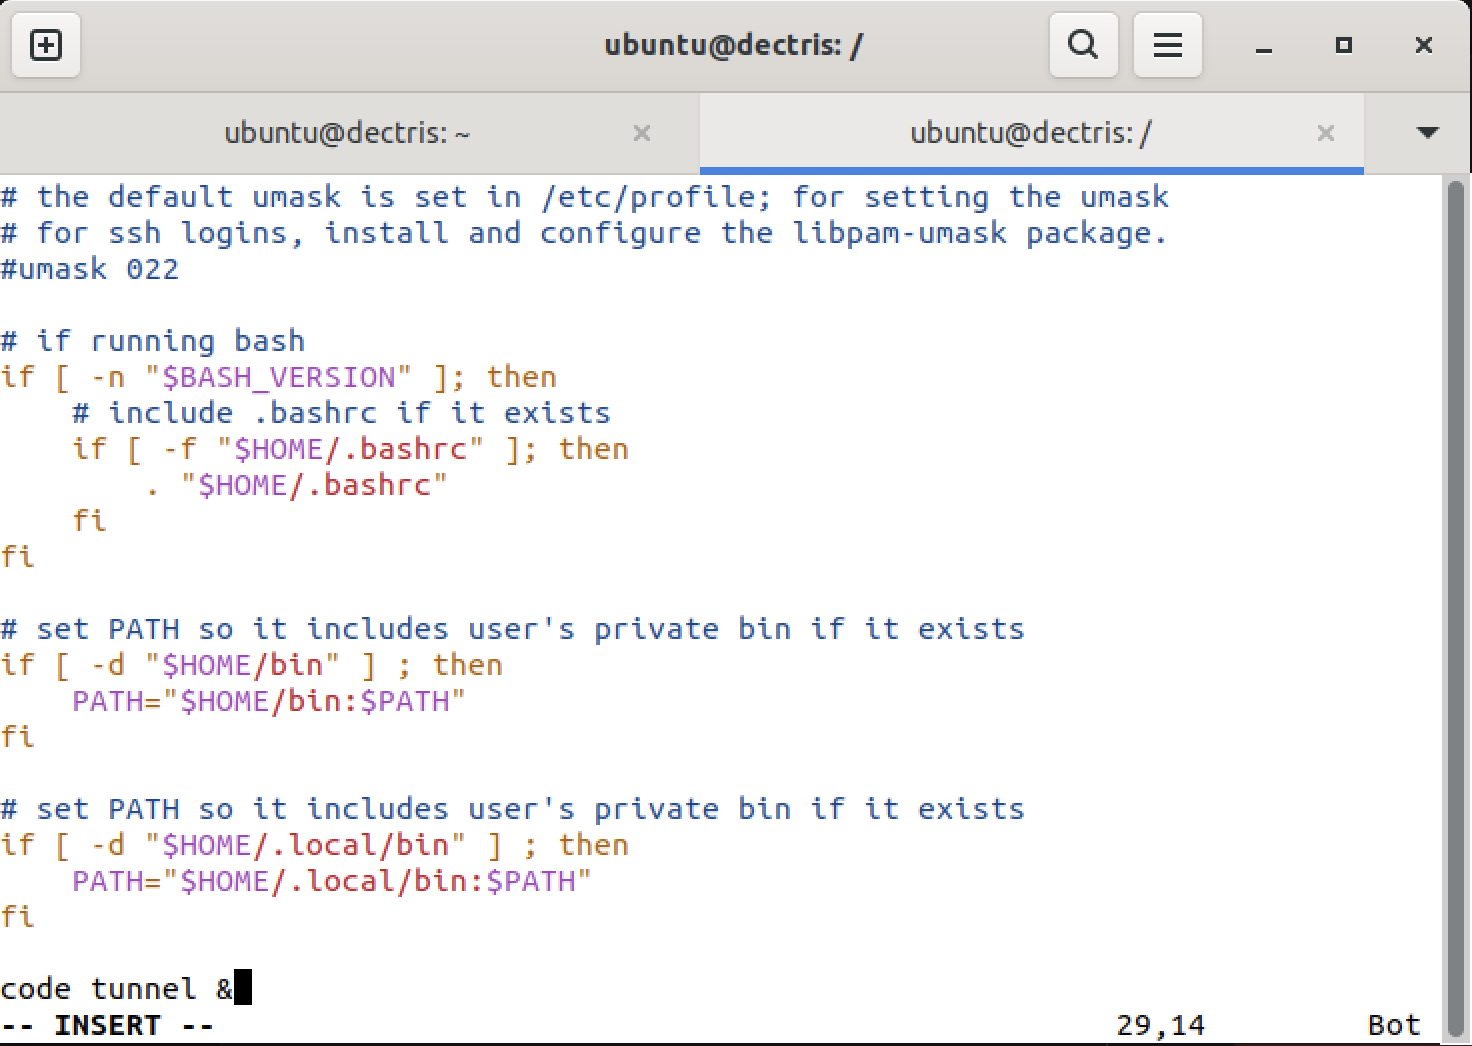
If you want to have VScode tunnel active every time you restart the Session at DECTRIS CLOUD, modify the ~/.profile adding the line code tunnel & at the very end of the file.
- sudo apt-get update
- sudo apt-get upgrade
- sudo apt-get install nano
- nano ~/.profile
- add line: code tunnel &