UC #2 : The Quantum Crystallography Protocol
How to start a Virtual Desktop
- 1. Go to Analysis → Virtual Desktops → Create New Virtual Desktop
- 2. Select the IUCr Workshop Group X Project
- 3. Fill out the fields with the following information:
- Unique Name: e.g. YOURNAME_QCP
- Choose the Environment: QCP – v4
- Software-only disk: 64 GB
- Sponsor: Project Sponsor Selected by Default
- Session Duration: 6 hours
- Performance: Swift (8 CPUs, 32 GB RAM)
- 4. Click "→ Next step"
- 5. It will list all selected options. Click "→ Create Session" (this will take a while)
- 6. Once the session is done building, click "OPEN"
Make a copy of the cif files in your personal folder inside the work directory
1. Ctrl + Alt + T to open a terminal
2. Copy the files (replace [XXXXX] with your own project number and [YourFolder] with your personal folder):
sudo cp -r /dectris_data/DCUSA/2026/[XXXXX]/raw/UC2_QCr_Protocol/* /dectris_data/DCUSA/2026/[XXXXX]/work/[YourFolder]
3. Check that all files have been copied to your folder.
How to start Olex2
1. Ctrl + Alt + T to open a terminal
2. Type:
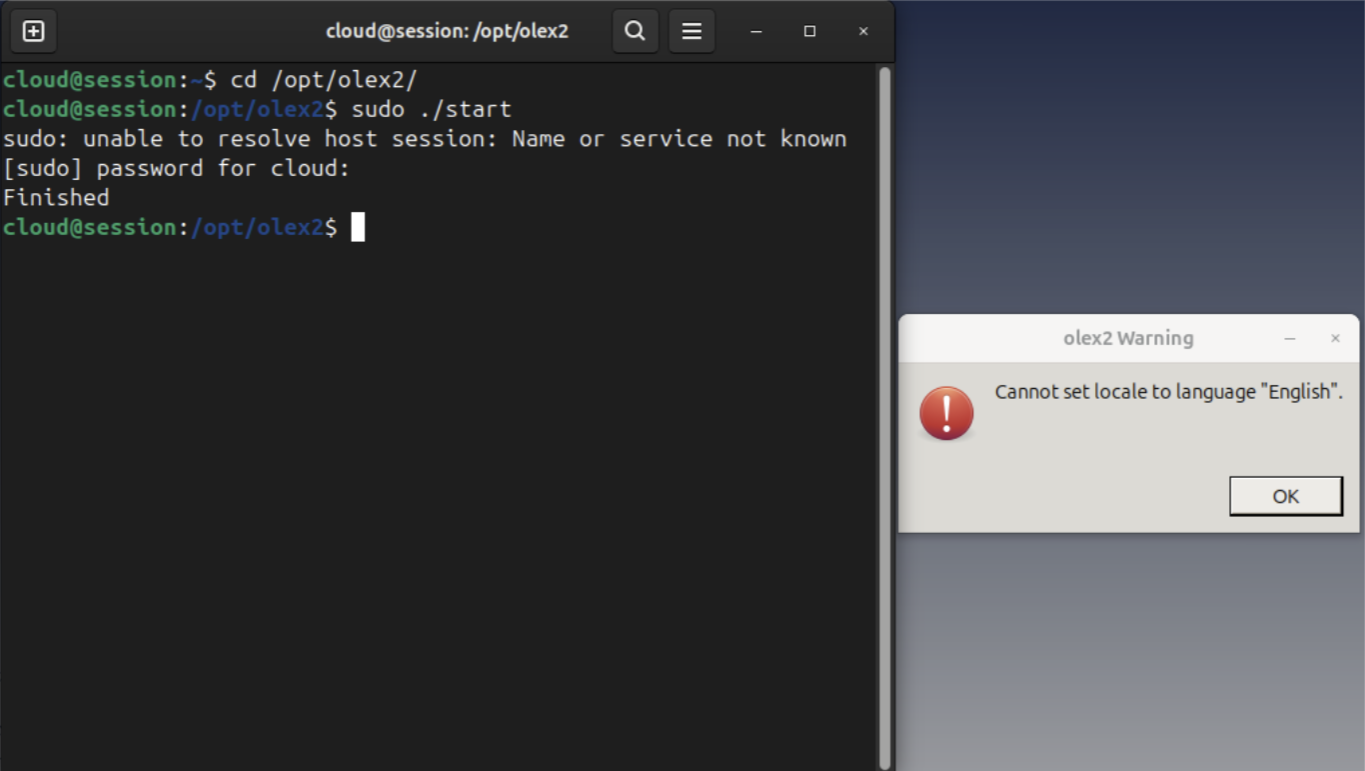
$ cd /opt/olex2
$ sudo ./start
3. It will ask for the password, which is: dectris
4. This will open olex2. Click "OK" when the pop-up window warns about not being able to select English (this is irrelevant).
This step looks like this:
First steps on QCP : the SuperSugar structure
Go to Home and select the testing dataset "SuperSugar" in your work folder. We will use this example to go through the whole workflow which we call a "Quantum Crystallographic Protocol" from the paper: Scientific Reports 2025, 15, 13584.
Step 1: Restrict data to a maximum resolution so that the included high-resolution data still contain valuable information and do not dilute the data set with noise. We suggest the following criteria for exclusion of high-order resolution shells: Rint/Rmerge > 15%, completeness < 100%, I/σ (intensity over standard uncertainty) < 3.0. This information can be accessed, e.g., via the Olex2 GUI under the tabs "Info" → "Reflection Statistics".
Step 2: Standard IAM refinement in ShelxL or olex2.refine. Check whether all hydrogen atoms can be found from the Fourier difference map and whether their coordinates and isotropic displacement parameters can be refined freely. There should be no need for a riding model or any other restraints or constraints at this stage.
Step 3: Visually evaluate the residual electron-density map (accessible via the Olex2 GUI under the tabs "Tools" → "Maps") and Q-peak positions. Figure 2a, c represent the residual-density distribution as it should look like for a good-quality measurement: the positive residual electron density (green, or brown balls) is systematically distributed in chemically meaningful positions, namely chemical bonds, and lone pair regions.
Step 4: Perform a Hirshfeld Atom Refinement (HAR) using NoSpherA2. To this end, one must use olex2.refine as a refinement engine. If olex2.refine is selected, then the checkbox for NoSpherA2 appears, and upon its selection various options are unlocked. See Fig. 1 for typical settings used for small molecules such as the YLID structure. Hydrogen atoms should be refined freely with anisotropic displacement parameters. The main steps in a HAR using NoSpherA2 are:
- A molecular or cluster wavefunction of the system is computed to obtain the quantum–mechanical electron density of the input model. Typically, the software ORCA5.0 is used for that step (in this workshop we use ORCA 6.1). It needs to be installed on the used computer by the user but is afterwards embedded in the automatic workflow of NoSpherA2.
- NoSpherA2 uses Hirshfeld partitioning to cut the quantum–mechanical electron density into non-spherical atomic density functions, which are Fourier transformed to generate non-spherical atomic form factors. These are handed over to olex2.refine for further refinement steps in form of a tsc file (tabulated scattering factors).
- The procedure needs to be repeated iteratively until the shift of any parameter over its standard uncertainty relative to the previous HAR cycle is lower than 0.01. The NoSpherA2 GUI therefore provides a checkbox to make the wavefunction calculation—partitioning—refinement process iterative.
Step 5: Check the residual density map after HAR. Minimum and maximum residual density values should now be of the same low magnitude, and the Q-peaks should be dispersed randomly (see Fig. 2b, d, and the Q-peak values in the caption). This should be accompanied by a significant drop in the R-value. For datasets 16 and 15 that were used in Fig. 2, the values are: 16—IAM 2.80%, HAR 1.64%; 15—IAM 2.10%, HAR 1.10%.
Step 6: Check how the hydrogen atoms have been refined. Do the X–H bond lengths correspond to average values from neutron-diffraction measurements within the uncertainties? For the example in Fig. 2, the average Cphenyl-H / Cmethyl-H distances are 1.090(12) / 1.059(13) Å, whereas the average values from neutron diffraction of reference compounds are 1.083(17) / 1.077(26) Å. Furthermore, are the hydrogen atom ADPs physically meaningful by visual inspection, as shown in Fig. 2b, d? If they are skewed, oblique or even non-positive definite (NPD), isotropic displacement parameters or restraints can be used, which was recently made available in olex2.refine for hydrogen atoms. However, skewed, oblique or NPD ADPs do not influence the X–H bond distances.
Step 7: Deposition of CIFs with structure factors after HAR with the CSD.
QCP with YLID
Now we will reproduce the same with YLID structures measured in different conditions. There are two datasets from the same paper Scientific Reports 2025, 15, 13584 deposited here for you to use, namely datasets 1 and 4 from Table 1. You can find them under the path:
/dectris_data/DCUSA/2026/[XXXXX]/work/[YOUR_FOLDER]
(Make sure that the work is performed inside your work folder, because Olex2 will change the CIF, so it is advised to work in a separate space).
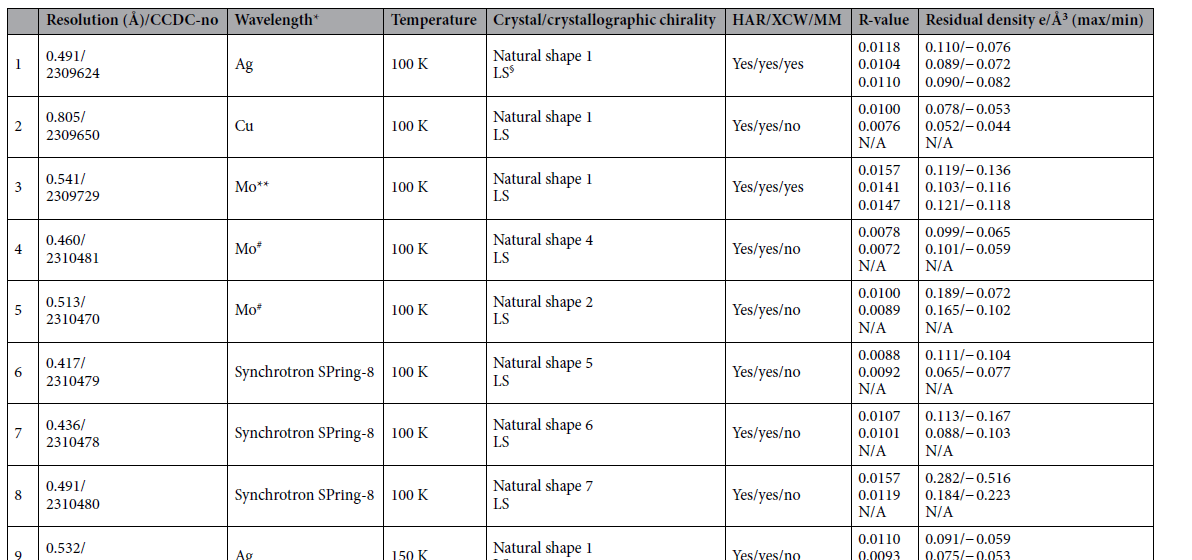
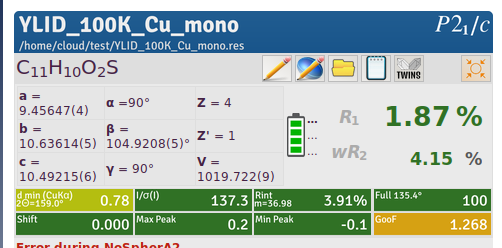
Now repeat the steps of the QCP for one or both of the YLID structures. Go through the NoSpherA2 Options and select combinations of different basis sets, methods and solvation models. Please note down the R-value, wR2, the height of the maximum residual-density peak, and the bond distances C7-H7 as well as C10-H10a. We will collect the results in a big table during the workshop and discuss the reproducibility of the results.
Share your results and logs by copying them to the output folder insisde your Virtual Desktop.
How to fix issues
Cannot find ORCA 6.1
In the Refinement tab, if you cannot call “ORCA 6.1” after checking “NoSpherA2”, then the path to orca is missing. Go to the tab Home → Settings and scroll all the way down. In the field “PATH”, write the following:
/opt/orca:/opt/openmpi/bin:/opt/openmpi/lib
Without needing to save, close Olex2 and open the terminal again. Open olex2 again by typing:
This will give the correct path, and when you go to the Refinement tab and check “NoSpherA2”, you should be able to select “ORCA 6.1”.
mpirun is trying to run as root but can’t
If you can choose “ORCA 6.1”,but when you start the refinement, the wavefunction calculation fails, check the log (at the top right of the GUI, there are 7 boxes → click on the little notepad. This will describe the error.
If it says that “mpirun” is trying to run as root, but is not allowed to, then you can allow it to run as root by changing the environment variables. Open a terminal and type:
$ sudo vi /ent/environment
Add the lines:
OMPI_ALLOW_RUN_AS_ROOT=1
OMPI_ALLOW_RUN_AS_ROOT_CONFIRM=1
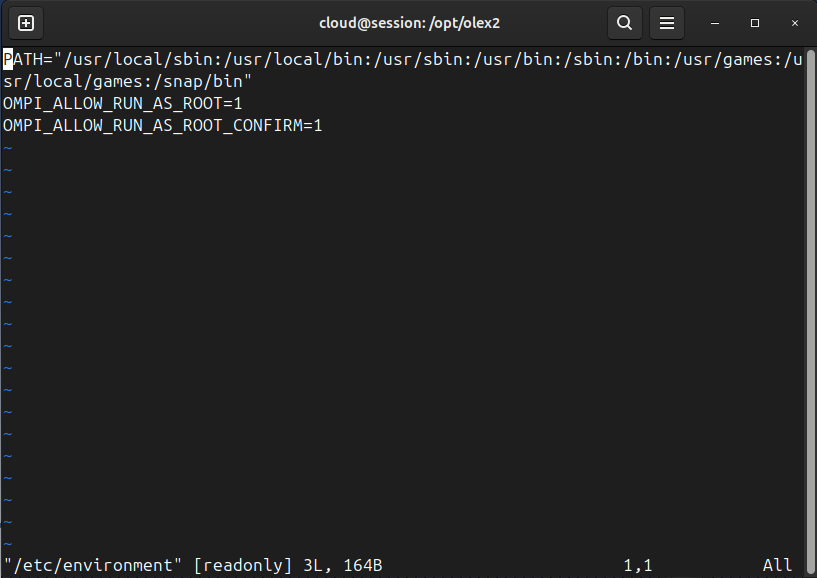
Then save the changes and close the file. Then close Olex2, close all your terminal windows and start them again.
Now the new environment variable allowing mpirun to run as root are on, and the issue should be fixed.
Too many resources requested
If you get an error like this:
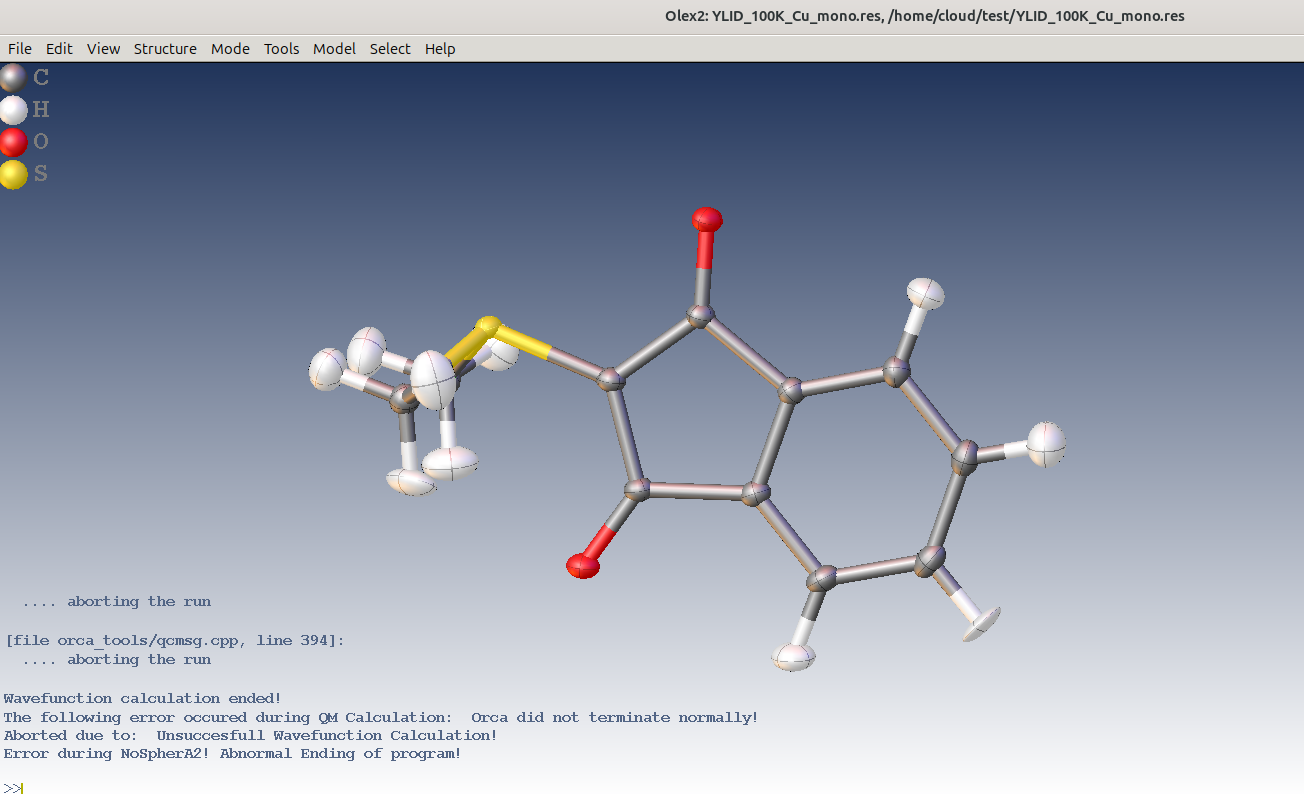
Open the log file. If you scroll all the way down to look at the error and see this:
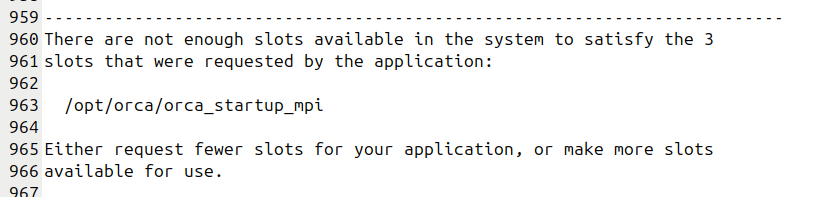
It means too many CPU cores were requested (in the BASE, there are 4 CPUs but you can actually only use 2 for the NoSpherA2 computations). Solutions: When preparing the calculation, request maximum 2 CPUs.